Tuesday, July 12, 2011

New 'Story Board' Thanks to Red Lead:)


Hello Everyone:)
Well it's a quiet, windy, rainy evening here in 
Victoria, B.C. Canada.
And I must say from watching CNN
each morning, that my heart goes
out to all of you down South
who are part of the 'Red' States on the
CNN Weather Map in the U.S.!
My goodness, how ever do you cope with
such heat!
I have a couple of air conditioners in storage,
as so far this season, they haven't been needed.
We're kind of thinking that we're going right
into Fall and Winter as it never even seemed
like we had a Spring!
Anyway you all keep safe, and cool!

So tonight, I thought I'd give a 'Shout Out' and
show a little project that I've been working on
in between all the other projects:)


I recently purchased these wonderful stamps
from Chris and Sharon at Red Lead
(their link is in my Favourites Listing:)
I LOVE their line of stamps, and have been
an avid collector for some time now. 
They also have wonderful Customer art swaps,
and although I haven't participated, due to 
mail issues up here in Canada, I've always
enjoyed seeing their Customer's Projects,
(and their own! Brilliant Girls!:)
So I encourage you all to stop by Red Lead
and have a peek:)

So, back to my project:)
I've been studying these two sets of stamps
since they arrived and I had a package
of these cut out chipboards that were
in the Kid's Section at my local 
Michael's Craft Store.
(Always check out the Kid's Section
for art supplies, as you never know 
what might inspire you!)
Now, to look at these wonderful stamps,
and this boring cardboard, (grin)..
who would have thought....
I've tried a few new technique's with this
project, first off, Red Lead's Acetate Sheets
that I've purchased with the 'Negative' Stamp.
Using 'Stazon' Black Ink, as it will not 
smudge, and stay's on, (grin) to the acetate.
I stamped the acetate with the 'Negative' Stamp,
then chose from my huge selection of stamps
anything small and nature inspired.
(And yes, there's that pesky bee again! I just love 
this little stamp from Magenta!)
Whoops, lost a step:)
The background of the cardboard, is computer
paper that I glued to it, that was inked and
I used one of my favourite script stamps along
with Red Lead's 'Honeycomb' Stamp:)
(Now back to my train of thought!)
(grin)

Then I tried a new technique I've just started
playing with using transparency sheets through
my ink jet printer.
I used this lovely graphic from 'Graphics Fairy'
(Thank you very much:)
And printed it on the blank transparency sheet.
I think this little bird is beautiful in it's design.
The original artist really captured all the 
details of this little guy:)
So, keeping in mind he's printed on the transparency sheet...
I then chose a sheet of beautiful scrapbook
paper to put behind the little guy:)

A few little touches here and there...
A tea stained and stamped tag, a wire hanger...
And a finished back side of the 'Story Board'
and again, a new technique for me, printing
paper tissue!
What a fun procedure that has been! You have
to try it!
Take plain artists tissue wrap. It's different from
regular tissue, as it has a side that has a faint
waxy coating.
Take a piece of computer paper, wrap the paper with the
tissue paper and with
scotch tape cover all edges so the paper on the 
back side, so it won't jam in your
printer. (Boy could I tell you stories of my experimenting
with my printer! Or should I say printer's plural!).
Tissue side up, waxy side down:)
Then take all of your paper out of the tray, and place
the sheet face down in the tray, push print with what
ever graphics you are using, and sit back, close your eyes,
and cross your fingers.....(ok, so that part you may not need
to include in the procedure, that's just me:)
Take the printed tissue paper, cut out your design, leaving just
a little edge of the paper around the design, then using 
gel-medium, you can carefully lay your paper on a coat of
gel-medium, then gently apply a coat over the top.
This might take a few tries to get the 'grip of it', as
the paper can tear easily, and depending on the amount of
gel-medium you're using it can be a bit fussy.
But a lot of fun to try!

Cheers for tonight!
Stay cool! Or dry, depending on where you are!

Enjoy!


Sunday, July 10, 2011

After thought:)

I just kept looking at my finished
piece for my entry in Retro Cafe Art's
Contest and just thought
it needed a little something....

Now it's finished:)

Enjoy!

Happy Sunday Morning 'Shout Out' :) :)


Hello Everyone:)
I realized this weekend that
my dear friend Kristin Hubick
at Retro Cafe Art
has another Contest going on and
is about to come to an end in 5 days!

So if you go to her blog
(link in my favourites listing:)
all the particulars are on her 
posting for her wonderful contest!
There's still 5 days to go, so you
still have time to make an entry!

Being Sunday morning, ( I woke up
at 5 a.m. dying to be in the art room,
so here's what I was up to:)
My Entry into Kristin's Contest:)
I love her ATC Holder Kits
and have already in past blog postings
showed how I like to put them together 
and embellish them.
So here's another one, and this time, all
the products used in this project came from
Kristin's shop Retro Cafe Art.
(Kristin is also the owner of Coffee Break Design which
manufactures all of these great products!)
Clever girl!
So the basics:)
I took her masonite ATC Holder Kit
and glued it all together using my favourite
Glossy accents by Inkssentials.
Then, I painted the ATC Holder, inside and outside,
with Deco Brand Metal Paint, White.
(Also from Retro Cafe Art).
After it dried, (and this paint dries really fast!),
I then used Tim Holtz 'Distress Inks to create
a background. Then I took one of my favourite 
script stamps and randomly stamped all over
the outside with Stazon Black ink.
Once the ink had dried, I glued the 
Coffee Break Design Cut-Out Wing Set to the
sides of the ATC Holder.
(I inked the wings like the ATC Holder, but used
Sepia Coloured Stazon Ink.)
Once the wings were secure, I then embellished
the project with Coffee Break Designs great
masonite cogs! Love these things!
I took Tim Holtz metal brads, and cut off the 'tails',
and glued them into the centres of the cogs.
A few more little embellishments from
Kristin's product line, ( as it is for her contest:)
Then I put my trademark 
'Tim Holtz' Hitches
on the bottom of the ATC Holder for feet!
It's one of my favourite uses for his product:):)
A little pearl in the middle of
the cog, and it's all done:)

So that is how I spent my Sunday morning this morning, 
and it just goes to show with still 5 days to go, you
still have time to make something to enter in 
Kristin's Contest!

Enjoy!


Thursday, July 7, 2011

New Passion continued....:)


Hello Everyone:)
Hope you all had a great
Holiday Weekend and
extra time off for some fun
and Family Time:)

As you saw in my previous post,
I have a new passion for making
journal pages, and have continued over
the past Holiday Week making pages
from scratch.
The wonderful big sheets of 
watercolour paper that my Art-Pal
Leslie had passed onto me, were
only 1/2 used up from the first
batch of pages I showed you in
my previous post. So since it's been
quiet time for the Holidays at my house,
I decided to continue making more 
pages while I still had some of this
great paper left:)


So here's a bit more eye candy:)
I had great fun painting and inking
both sides of the paper...
My entire floor of my art room was covered
in watercolour paper that was drying, then...
as each page would dry, I would flip it over
and start the other side...
Again, I was using Claudine Hellmuth's Paints,
which I am nuts over now, as they're so rich and
vibrant in their colours, and the texture of the paint
feels rich while using it:)
And also using the Tattered Angels Stencils,
and other assorted inks, and stamps...
I found that one of the parts of the process 
had created to accomplish these, 
and it became
a part that I looked forward to...
Was taking the very large sheets of
paper, all painted and inked, and 
while they were still slightly moist,
I folded in half, then with a large
ruler to use as a guide, I tore the
sheets into halves, then again into
quarters to create the approximate
size of each page. I then inked all
the torn edges, which I think gives
each page a great look:)
So between the batch that I made
for the previous blog post, and
this large batch, (as there are
even more sheets made up, by the
time I start putting it all together
into book form, and start actually
journaling on them, it's going
to be quite the project!

As I mentioned before, I found that
some of the pages, at close up
photographs, would also make great
backgrounds for ATC's or other
projects. Well...
I've also been motivated by one
of the pages..
I just kept going back to it and
looking at it, and remembering 
how I had accomplished it...and then...
It somehow jumped onto a canvas:)
I had a great 12 x 12 inch
Cotton Duck Canvas 
that I had recently purchased,
and decided since I was working
away on all these journal pages
I might as well jump off the deep
end and transfer the techniques 
to a canvas.
Now I have this to study for awhile
to see how I'm going to embellish it
later one:)
Another blog post another time:)

Enjoy!


Thursday, June 30, 2011

Passion :) :) :)

First of all,
Happy Holiday
Weekend
Everyone!

So for all of my American Friends
Happy 4th of July Holidays this week
and to all of us here in Canada
Happy Canada Day!!
And to everyone else
Happy Weekend!
(grin).

Now, the dictionary states
'Passion'
'A powerful emotion or appetite'
So today's Blog Post is about my 
latest Passion, as I figure what
I lack in talent, I surely make up 
for with Passion for any new art form
that grabs my attention, or interests me
whether it's 'flash in the pan' for a moment,
or becomes a life-long interest.

This new Passion, started up with my 
Art-Pal Leslie giving me a big handful
of this wonderful thick, watercolour paper.
It's 11 x 15 inch has had me intimidated
for months looking at it. 
I kept picking it up when I would come across it in my art cupboard and the feel of it, the texture and thickness, would always make me feel like 'this could really be interesting to do something with', but  I lacked the self-confidence to think of a project to use it for.


Until now....or should I say, over the past week,
as I have been up for days and nights playing
with this, (grin).
First up, supplies:)
I decided to pull out all the stops, and
get into my art drawers and cupboards to
see what would motivate me with this
lovely blank paper.
So I pulled out my collection of 
Claudine Hellmuth Acrylic Paints,
My Tattered Angels Stencils and Stamps....
Tattered Angels Chalkboard and Glimmer Mists...
Tim Holtz 'Distress Stains'....
My wonderful assortment of ....
Watercolour Crayons...
And other assorted Stamps, pens and such
to start 'something'!
I decided to try my hand at making a 
Journal from scratch.
Not using graphics, or collage, or commercial
products, but using my own imagination.
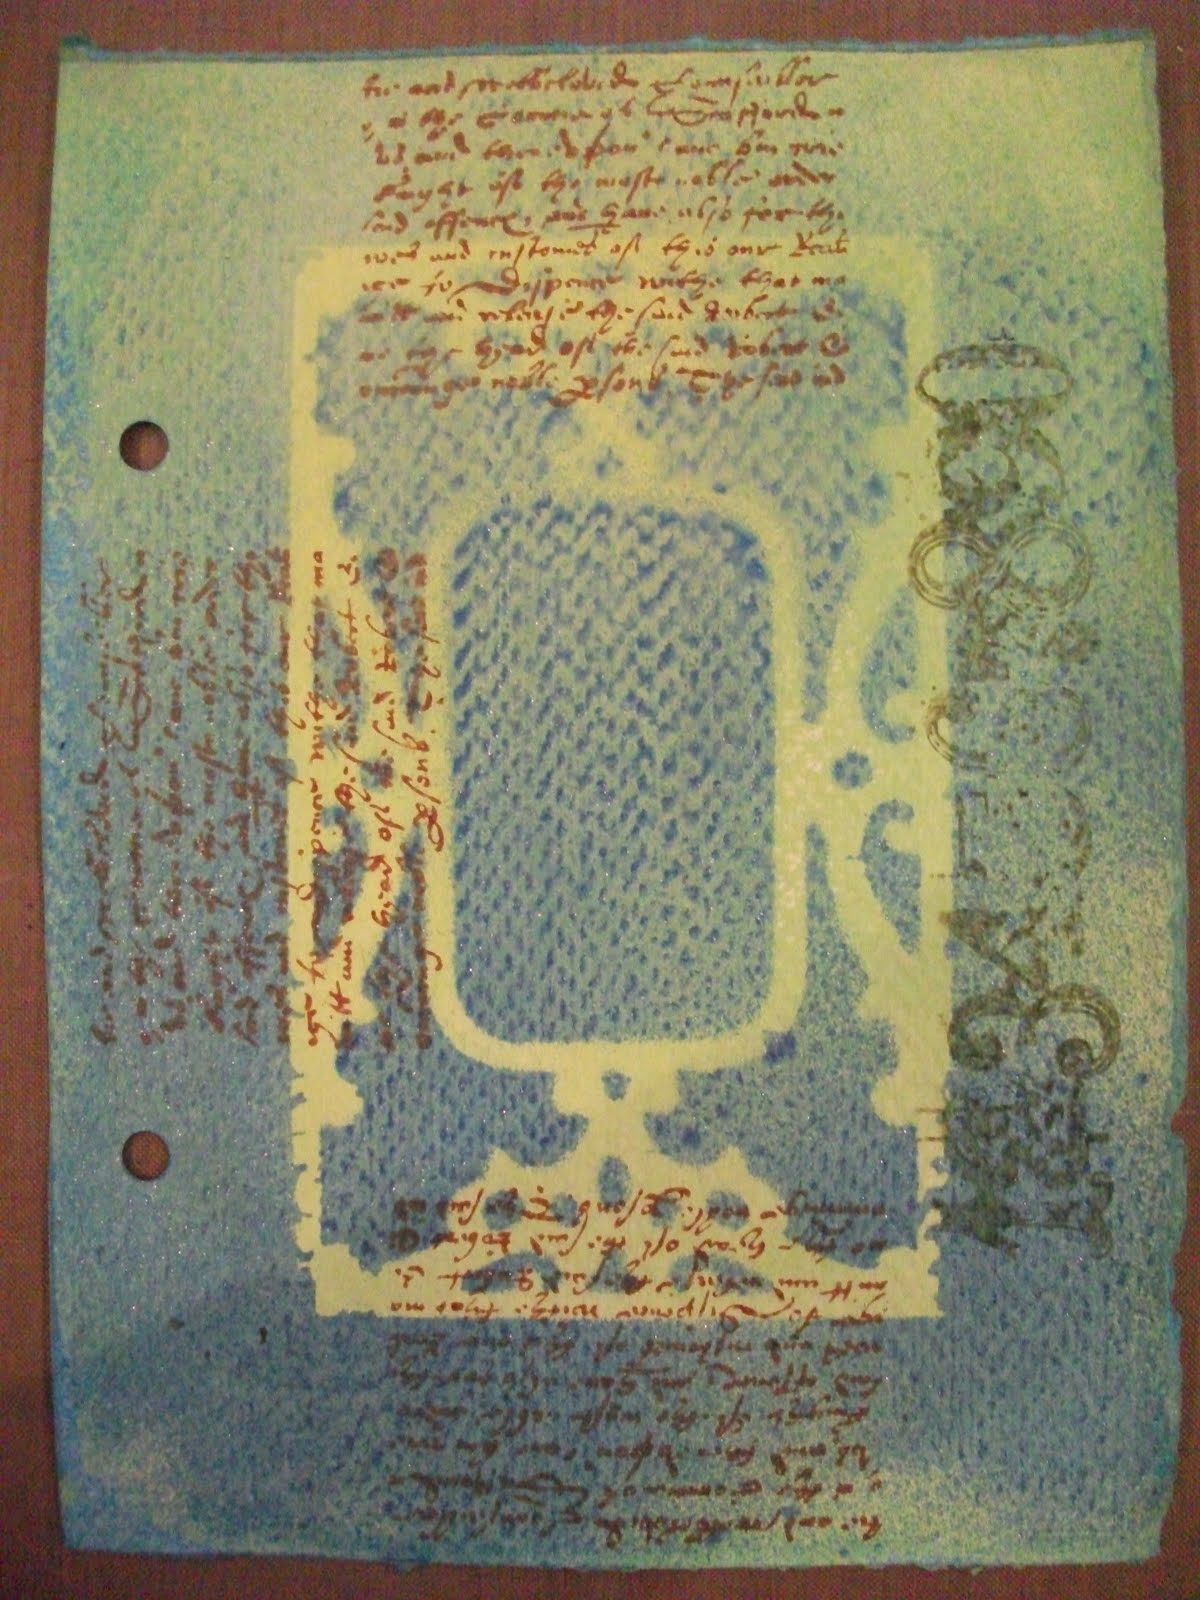
I painted, sprayed, stamped, and started with one big sheet.
Then after doing this to both sides of each sheet, while
still slightly damp, I took a ruler, and tore the sheets
against the ruler, into quarters, to create pages.
Once they were torn into quarters, I inked the edges,
punched each page for putting into a book form later.
Then the real fun began....
Layering acrylic painted images, stamping, inking,
playing!

Layer after layer of whatever grabbed my attention
to use, I did!
Now, I must confess.
I have no ability with calligraphy.
So using a set of stencils, I made up for my inability
to create lovely lettering with tons of pen and ink work!
So I just kept playing....
Until I came up with this:)

Now, that I've decided that it is to be a journal,
I made the covers, ( to be finished at a later date).
I cut chipboard and glued with gel-medium,
front and back to the chipboard and pre-punched
the ring holes.

So now that I have found this new passion,
I think this project will be keeping me busy
for quite some time, as each page is turning
into a 'discovery' and 'journey' 
in itself.
Here's some more examples of pages
to be 'worked on' and some 'sort of finished'
A beginning...
Looking forward to playing with this one:)
Wouldn't this image make a great background
for an ATC!
(I'm finding this new passion leads me into all 
sorts of ideas as I'm playing:)
I have a feeling this will take months!!!! 
(grin)
And I'm just getting started!!!!


So I have a beautiful old gold box from last years
Christmas cards, that I'm going to keep all these
pages in, so at a moments notice, I can grab a
page and work on or complete as I feel the 
'Passion'
So over time, I'll be sharing more pictures of this
As I always can jump from one medium
to another, to incorporate in the finished
journal:)

So that's what I'm up to this week!
Hope your Holiday Weekend and coming
Holiday Week is full of fun times, great 
Family get togethers, and maybe even
some lovely Art Time!!!
Cheers to you all!

Enjoy!
project in between other shorter posts:)