3 Part Project continued...
Part 2
7gypsies 'Mini ATC Library Drawer'
Hello again:)
So, in Part 1 of my project,
I used the ATC Holder that I purchased
from Retro Cafe Art
http://www.retrocafeart.com/
(And again, thanks Kristin:)
In Part 2, I'll be using the
7gypsies 'Mini ATC Library Drawer'
that I purchased from
Blue Moon Scrapbooking
http://www.bluemoonscrapbooking.com
(Thanks to Scott and Family!)
I started out with the blank 7gypsies
'Mini ATC Library Drawer'
I gave it a quick light sanding to give it some 'tooth'.
Then I took heavy weight scrap book paper and
using Matte Gel Medium, glued paper to cover the
outside of the Library Drawer.
(In this example, I used 'My Mind's Eye' Paper
'Stella and Rose' a new line of papers by 'My Mind's Eye'
that I'm currently enjoying using, also purchased
from Blue Moon Scrapbooking:)
After it was all covered on the 'outside' of the
Library Drawer, I then used
Tim Holtz Distress Ink, 'Walnut Stain'
to ink all of the corners and edges to
give it a 'used grungy look'.
As you know from Part 1,
I enjoyed adding feet to the ATC Holder,
well, in Part 2, I really enjoyed this part:) :) :)
One of my favourite things to do is go 'digging'
at local Salvage Shops with my Pal-in-Art Leslie:)
(I'll be showcasing some of Leslie's great
Art Pieces periodically in my blog, as I am
'gobsmacked' by her talents!)
In one of our 'digs',
I found these great solid brass nobs from an old dresser.
Well!
They make great feet for my project as they
are decorative yet,
have a flat surface so the
Library Drawer will be stable.
My 'trick' for applying them is a wonderful product
that Leslie showed me to use for many such ways
of applying metal to surfaces to get them to stick.
Clear Bathroom and Kitchen Caulking!
( I buy this stuff practically by the case!)
Just make sure you use it in a well ventilated room!
(I learned the hard way, cough, cough:)
Once the caulking had dried....
I embellished the top edge of the
Mini ATC Library Drawer
with this beautiful cotton vintage inspired lace
that I purchased from Melissa Samuels at
http://www.melissasamuels.net/store
(Thank you Melissa:)
(Locally, here in Victoria, B.C. you can
also find this wonderful lace and great
scrapbooking papers and supplies at
Scrapbook Parade!
Link in my favourites list, Thanks Carol:)
I used Matte Accents, by Inkssentials to attach,
and used clothes pins to hold in place until it dried.
On the inside of the Library Drawer, I used a
new product, that I'm really enjoying thinking
up other uses for, as it's very cool how it dries.
Again from Retro Cafe Art:)
I purchased
'No-Prep' Metal Paint from DecoArt
This paint is so cool, as it dries, there are
no brush strokes or blemishes!
I chose the gold colour to highlight the grungy parts
on the outside of the piece.
Again, use this in a well ventilated area!
But it dries fast, and really is a forgiving paint
to use!
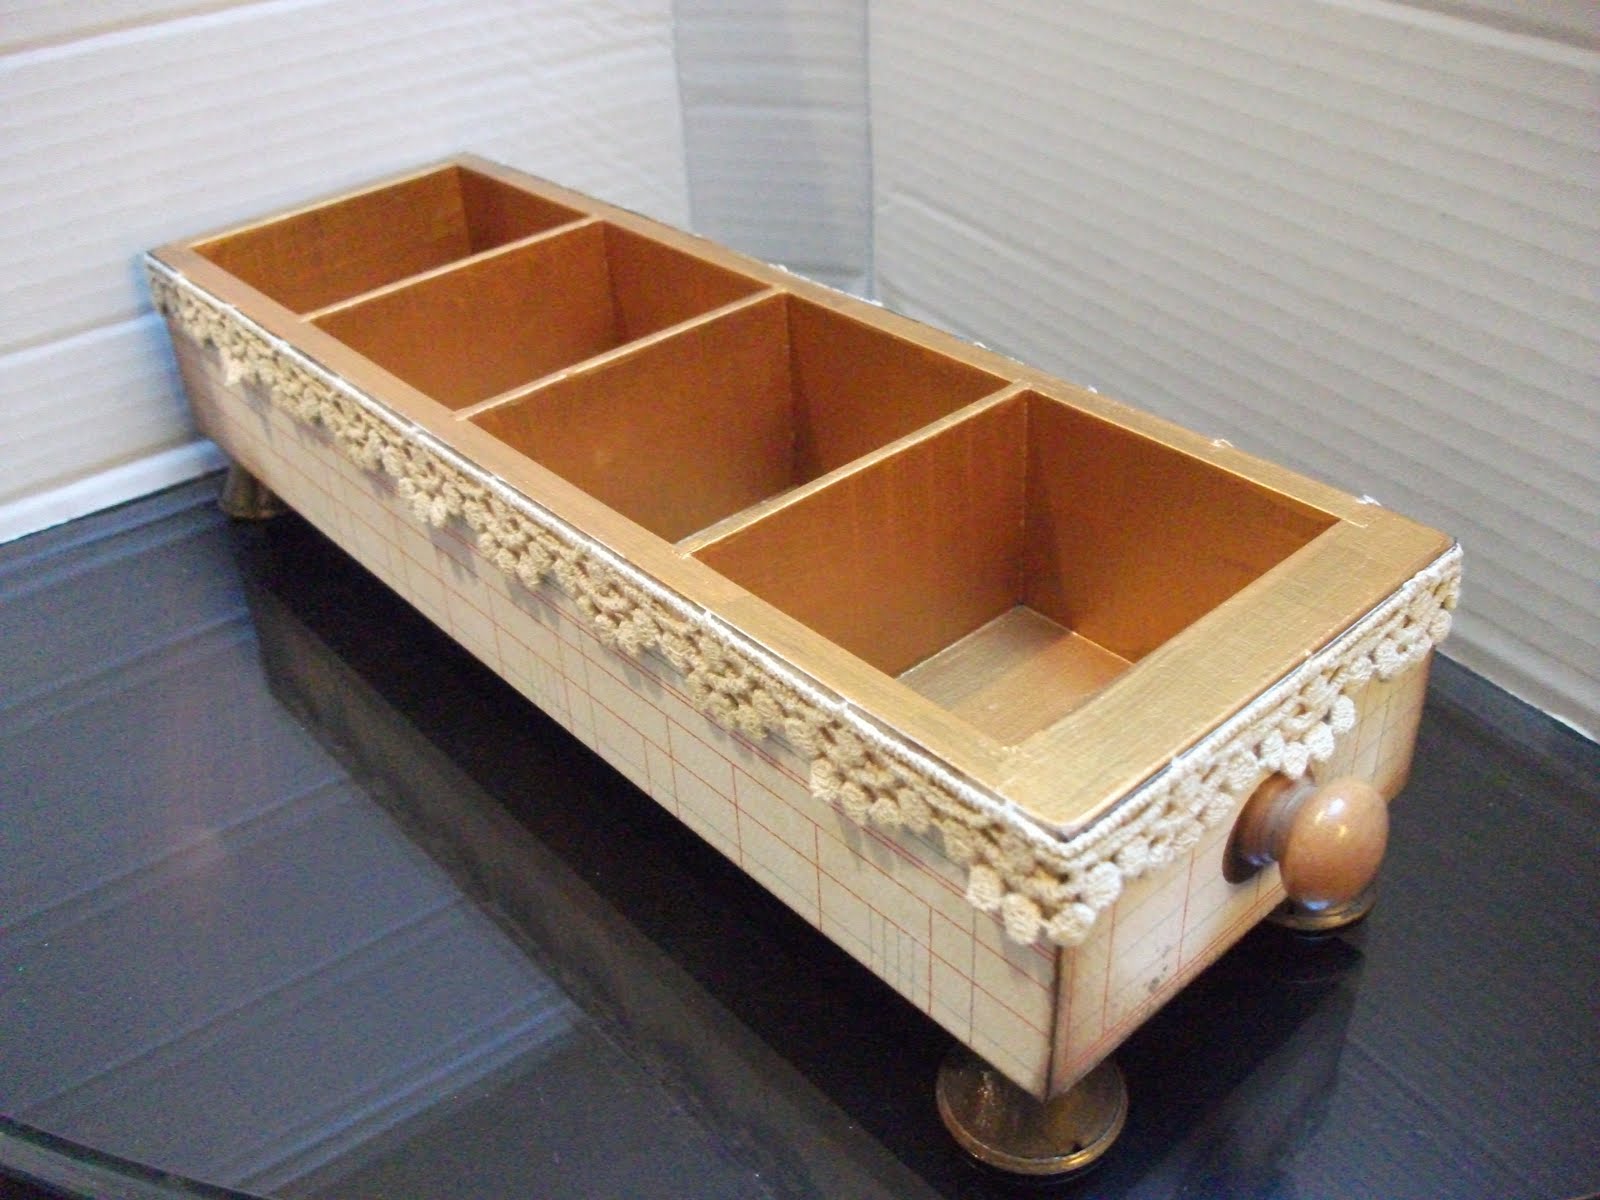
The finished piece of Part 2
of my 3 Part Project.
I decided not to embellish it further, and
in Part 3 of my project you'll see why:)
Please check back to see the rest of
the Project, and do try this at home:) :)
Enjoy!